How to Back Up Emails in Outlook
You can make a backup in Microsoft Outlook if you have emails you want to be sure to keep because you’re getting a new computer or you’re debugging a problem.
You can quickly import your mailbox back into Outlook by exporting it in that format. As an alternative, you can export a CSV file that you can study and analyze in Excel. Here, we’ll go over both file formats’ methods for backing up emails in Outlook.
Back up emails with an Outlook file
The best choice is to generate a PST file if you want to make a backup of your emails that you can quickly import back into Outlook later.
Step 1: Select File > Open & export while Outlook is open. Select Import/Export next.
Step 2: Select Export to a file and pick Next when the Import and Export Wizard window has opened.
Step 3: Select Next after choosing Outlook data file (.pst) in the following box.
Step 4: To make sure you have all of the folders you made, choose your Inbox and tick the box for Include subfolders. If you’d rather, you can select an other, more particular folder.
Step 5: Select Filter if you only want specific emails, such as those with a specific sender, time span, or phrase. Add the requirements, then select OK.


Step 6: Select Next after you pick the inbox, subfolders, and filters.
Step 7: Decide where to save the file. To choose the place, click the Browse button, or type the complete path into the box at the top.
Step 8: Select whether to replace duplicates, permit duplicates, or not export duplicates after that. Choose Finish.
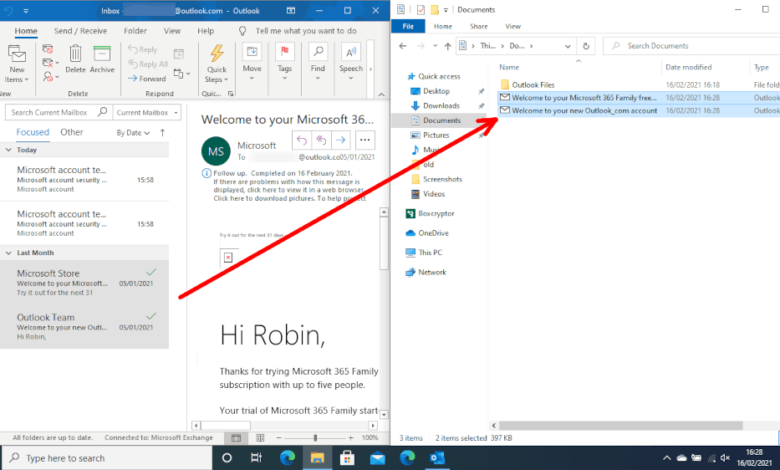
You can then visit the location you selected for the file to open it.
Back up emails with a CSV file
You can alternatively create a CSV file if you wish to back up your emails so that you have a legible file that you can access in Excel if necessary.
Step 1: To pick Import/Export and launch the Import and Export Wizard, repeat the first two steps as previously.
Step 2: Select Export to a file and pick Next.
Step 3: This time, select Next after selecting Comma separated values in the Export to a file box.
Step 4: Choose your Inbox from the list and pick Next.
Step 5: Use the path to enter the path and file name, or click Browse to choose the file’s location.
Using the Browse button, go to the desired place, type the desired file name, and then click OK.
Step 6: Select Next after entering the desired location and file name in the Save Exported File As box.
Step 7: Confirm the inbox you are exporting and select Finish.
As the file is being created, you’ll get a brief message. After that, go to the place you selected to view the file and open it in Excel or another similar programmed.
It only takes a few minutes to backup your Outlook emails for safekeeping or to import them again later. Furthermore, taking the time to make sure you don’t miss any crucial communications is probably worthwhile.


One Comment